
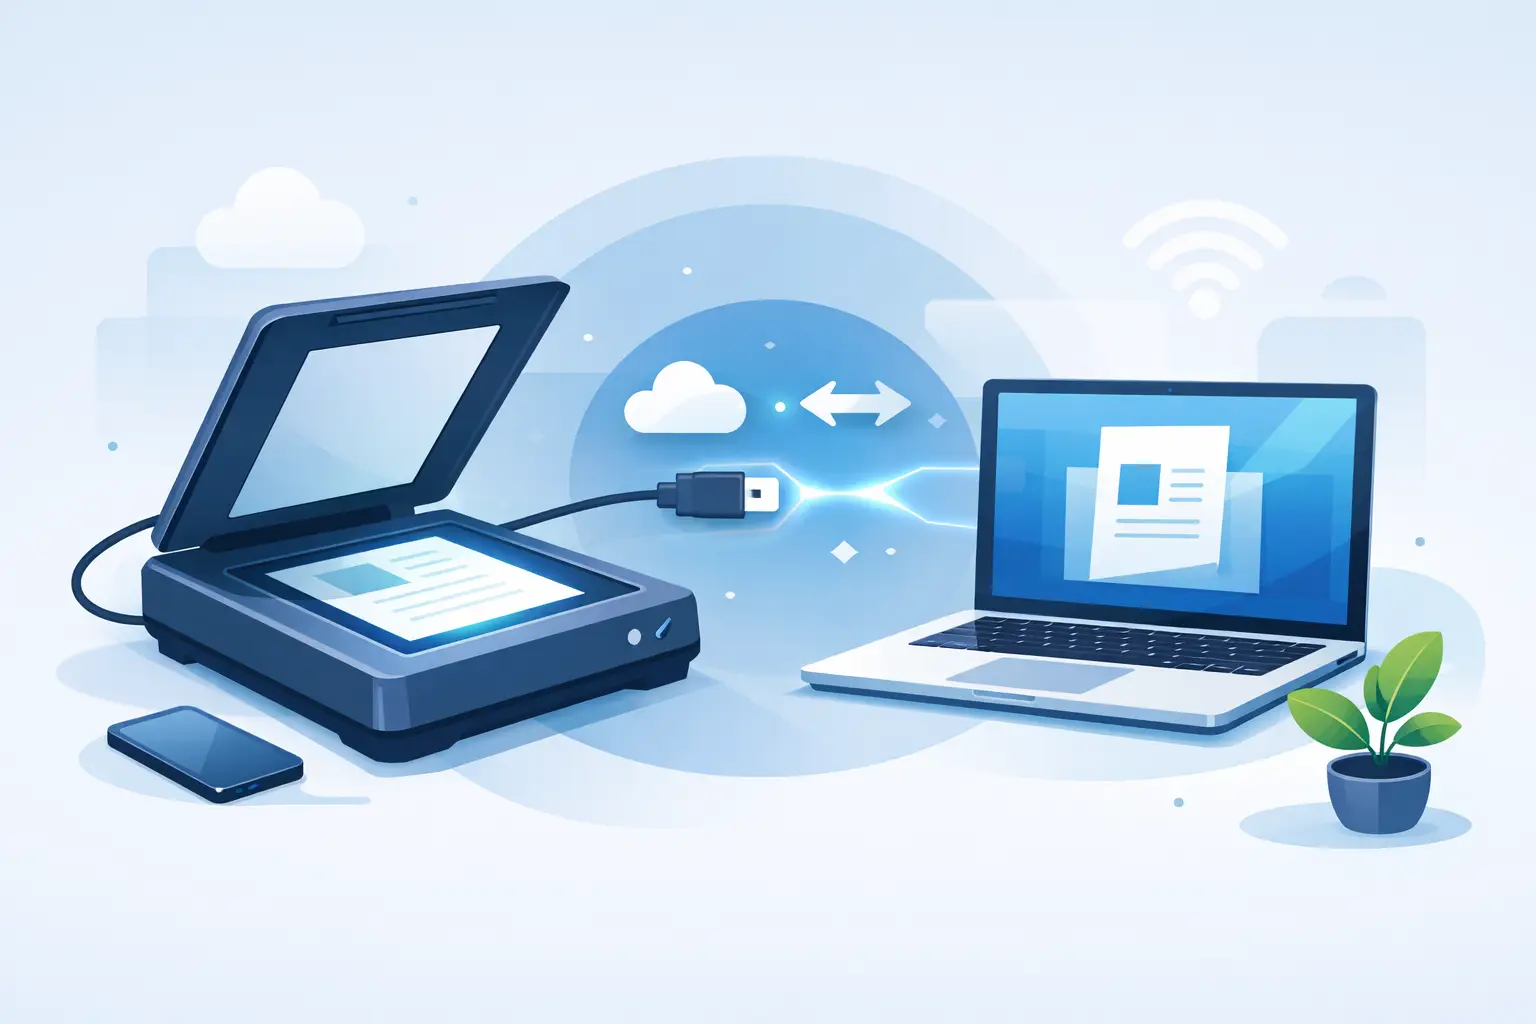
A scanner that sits beside your computer but refuses to appear in the scan app can stop a simple task in its tracks. Whether you need to send a signed form, archive family photos, or scan invoices for your business, knowing how to connect scanner equipment properly saves time and avoids repeat setup attempts.
The right method depends on the scanner you have. A standalone scanner may connect by USB or Wi-Fi, while a multifunction printer may also be available through your home or office network. Start by identifying the connection type, then set it up in the order that suits your device.
Before You Connect Your Scanner
Set yourself up for a smoother installation by checking a few basics first. Find the scanner model number, usually printed on the front, back or underside of the unit. You will also need access to the computer you plan to scan from and, for wireless setup, the correct Wi-Fi network name and password.
If the scanner is part of a printer, make sure the printer is turned on and not showing an error such as a paper jam, low ink warning, or network fault. A low ink warning will not always stop scanning, but an error message can prevent the device from responding properly.
It is also worth checking the scanner glass and document feeder. Remove protective tape, packaging material and dust before testing. For document feeders, straighten pages and remove staples or paper clips. These small checks prevent problems that can look like a connection issue when they are really a hardware issue.
How to Connect Scanner by USB
A USB connection is usually the most reliable option for one computer. It is ideal for a home desk setup or a small business workstation where the scanner does not need to be shared.
First, install the manufacturer’s scanner software or driver if it came with the device. Many current computers will recognise a basic scanner automatically, but the manufacturer’s software often provides better controls for resolution, document type, file format and multiple-page scanning.
Once the software prompts you, connect the USB cable directly from the scanner to your computer. Avoid plugging it into an unpowered USB hub during setup, as the scanner may not receive enough power or may disconnect unexpectedly. Turn the scanner on, wait a minute, then open the scanning application and look for the device.
On a Windows computer, you can search for the built-in Windows Scan app or check Settings under Bluetooth & devices, then Printers & scanners. On a Mac, open Image Capture or go to System Settings and look under Printers & Scanners. If the scanner is listed but does not scan, restart both the scanner and computer before changing more advanced settings.
USB is straightforward, but it does have a trade-off: the scanner will generally only be available to the computer it is physically connected to. If several people need to use it, wireless or network setup may be more practical.
Connect a Scanner to Wi-Fi
Wi-Fi lets you place the scanner where it is useful rather than where the computer happens to be. It can also allow laptops, mobiles and more than one desktop computer to scan from the same device.
Most modern wireless scanners use one of two setup methods. Some have a display screen where you select your Wi-Fi network and enter the password. Others use a setup app on your computer or mobile to send the network details to the scanner. Follow the instructions for your specific model, as button names and menus vary.
Keep the scanner, computer and mobile on the same Wi-Fi network during setup. This matters in homes and businesses with separate guest networks, extenders or mesh Wi-Fi systems. A computer on the main network may not be able to find a scanner connected to the guest network.
After the scanner joins Wi-Fi, install or open the relevant scanning software on your computer. Choose Add Device, Add Scanner or a similar option. The scanner should appear automatically within a minute or two. Select it, complete any prompts, and scan one page as a test.
If your scanner can only connect to a 2.4 GHz Wi-Fi network, do not assume it is faulty. Many older and budget-friendly devices do not support 5 GHz networks. Your router may show both network bands under similar names, so check the settings or ask for help if you are unsure which one to use.
When Wi-Fi Is Not the Best Choice
Wireless scanning is convenient, but it depends on a stable network. A scanner at the far end of a house, behind thick walls or near other wireless equipment may drop off the network. For frequent scanning of important business documents, a USB or wired network connection can be more dependable.
Connect a Scanner Through an Office Network
For a small office, connecting the scanner to the local network makes it available to authorised staff without moving cables between desks. Depending on the model, this may be done through Wi-Fi or an Ethernet cable plugged into the router, switch or wall network point.
A wired Ethernet connection is often the better option for a shared scanner that handles high volumes of paperwork. It is less affected by wireless coverage and usually remains available after a computer restarts. Once connected, install the scanner on each staff member’s computer using the manufacturer’s software or the operating system’s Add Scanner function.
Keep access sensible. Not every shared device needs to be visible to every visitor or temporary user on the network. If you handle client records, financial documents or personal information, set scan destinations carefully and avoid sending files automatically to an open shared folder.
Choose the Right Scan Settings
A successful connection is only the first step. The settings you choose affect file size, readability and how easily the document can be emailed or stored.
For ordinary letters, invoices and forms, scanning at 200 to 300 dpi is usually enough. Select PDF for multi-page documents and JPEG for individual photographs. Colour scanning is useful for photos, receipts with coloured highlights and documents where colour carries meaning, but black and white or greyscale files are often smaller and easier to send.
If you need to search the words inside a scanned document, look for an OCR option. Optical character recognition converts printed text into searchable text. Results depend on the condition of the original, font size and scan quality, so always check important names, numbers and dates after scanning.
Save files somewhere you can find again. A clearly named folder, such as Scanned Documents or Client Records, is more useful than leaving everything in Downloads. For business files, use a consistent naming approach, such as date, customer name and document type.
Common Scanner Connection Problems
When a scanner is not detected, the cause is often simple. Work through these checks before reinstalling everything:
- Confirm the scanner has power and no error message on its display.
- Check USB cables are firmly connected or confirm the scanner is on the same Wi-Fi network as the computer.
- Restart the scanner, computer and, if needed, the router.
- Remove and re-add the scanner in your computer settings.
- Update or reinstall the scanner driver and software for the correct model.
- Check security software or firewall settings if a network scanner is being blocked.
A scanner can also appear connected but still fail when you press Scan. In that case, try a different application. The manufacturer’s program may work when a basic built-in app does not, particularly for document feeders, double-sided scanning or larger page sizes.
For wireless models, assigning the scanner a fixed network address can help if it regularly disappears after the router restarts. This is a more technical step, so it is sensible to get assistance rather than changing router settings at random.
When It Is Time to Get Hands-On Help
If you have followed the setup steps and the scanner still will not connect, the issue may involve outdated drivers, router settings, a damaged cable, conflicting printer software or the scanner itself. These faults can be frustrating because several small issues can look identical from the screen.
Tech Experts can provide practical on-site or remote support for scanner and printer setup, helping households and small businesses get devices connected, tested and ready for everyday use. That is especially useful when a scanner needs to work across several computers or alongside an existing office network.
A working scanner should feel like a useful part of your setup, not another job waiting on the desk. Once it is connected, run a quick test scan every so often and keep the software updated, so it is ready when an urgent document lands in your inbox.